Well, I was hoping to get a much more detailed picture process of me and my Dad building this, but we were constantly doing something, and after 2 1/2 hours of straight working, I was a little tired!
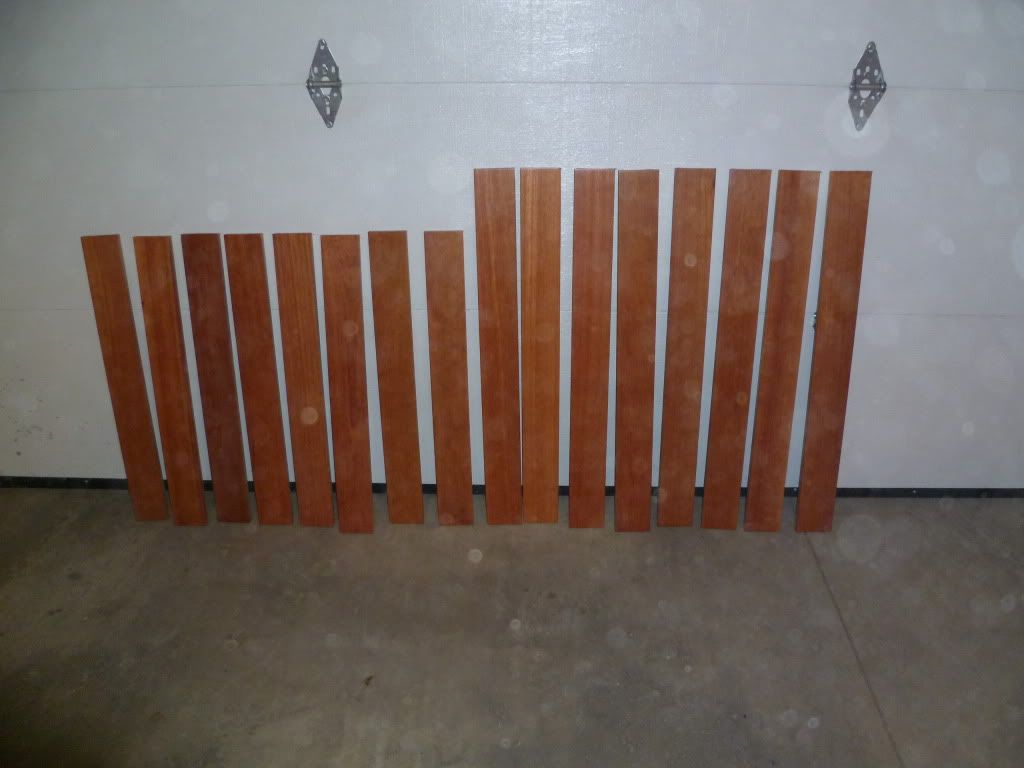
Here is the hardwood planks that were made into the legs of the stand. The eight taller ones where for the four legs of the bottom, and the shorter ones for the top (which hasn't been finished yet).
Hehehe, a picture I snapped of the main architect of this stand. (I had the ideas, he had the tools)
Here are the three pieces of 25"x48" plywood that would make the base, middle level, and top of the stand.
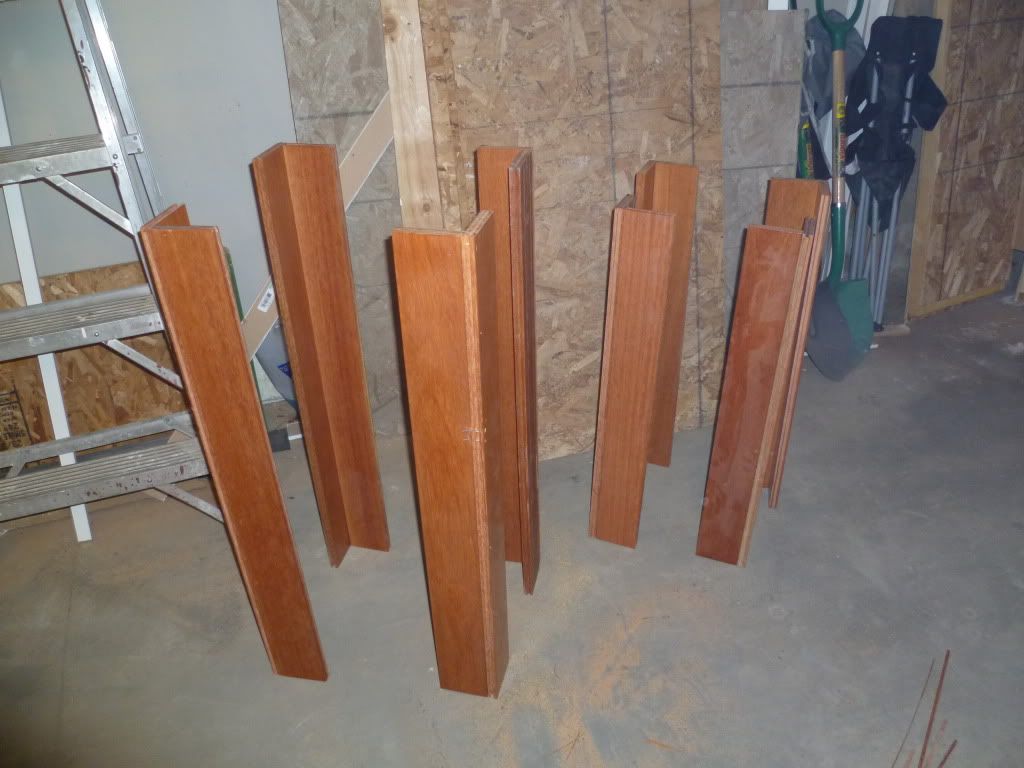
Here are the legs for the bottom and top level.
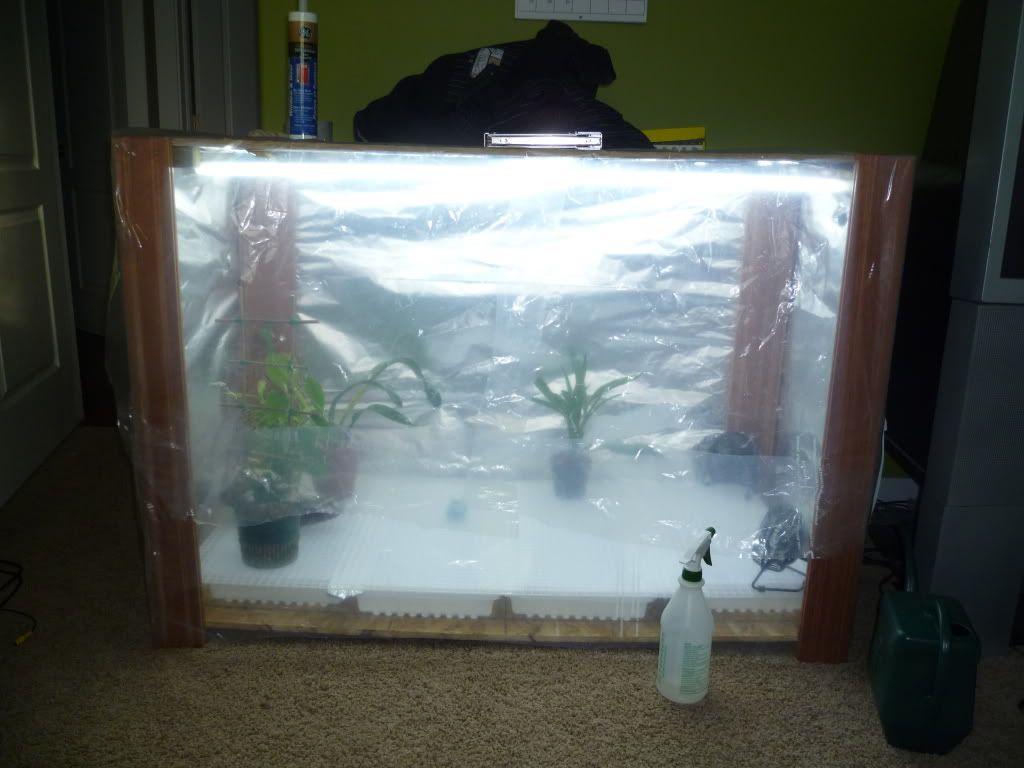
And now skip forward many more building hours to the completed stand (I think. . .)
Since the last picture I screwed the legs into the top piece of plywood, which had the light-bulbs screwed onto. I taped aluminum foil to the sides and back to create a wall of shinyness to reflect extra light back. I then covered everything with a thick plastic wrap that came around my parents new mattress, and I also taped that onto the legs and front to create a moisture seal. I also filled two of the trays with leca to aid in the humidity, and I siliconed one of the fans to the corner of a leg so that it can be elevated. The front piece of plastic is in three pieces, one complete one running across the whole bottom third, and the top two being cut down the middle so I can open it while it still being closed off. This is now fully functional and permanent home to two orchids and two common plants.


Great job, but looks a bit empty. You really need to fill it up with lots of orchids.
ReplyDeleteHi Cody,
ReplyDeleteYou really have your parents on your side with all of this. Wondering if you have been able to get on Orchidboard. I haven't been able to access it for three or four days.